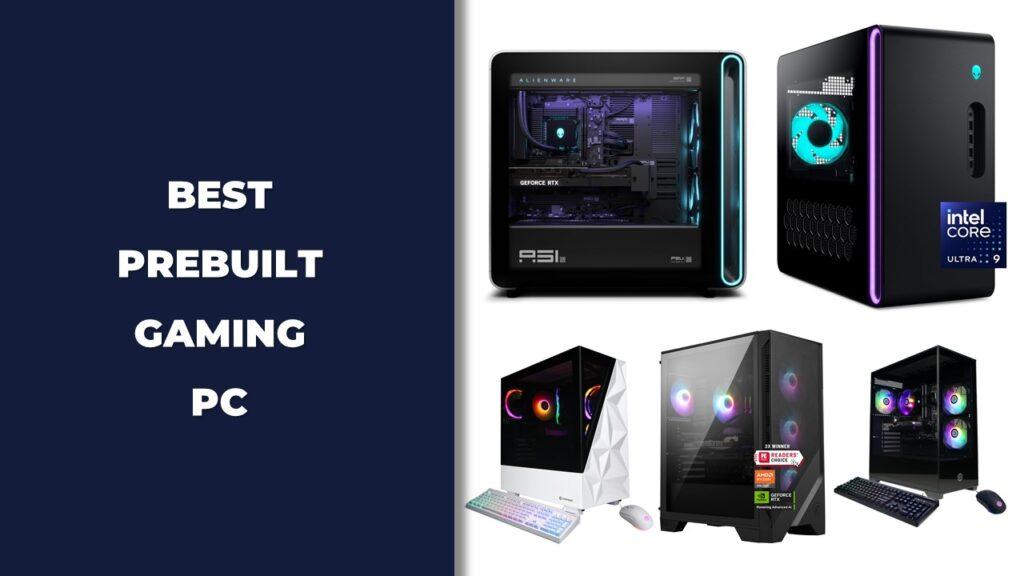
How to build a PC starts with choosing the right parts, putting them together, and installing the software that powers it. A gaming PC build is for players who want fast graphics and smooth play. A work PC is for students, professionals, or anyone who needs storage and speed for daily tasks. A content creator’s PC is for video editors, designers, or streamers who need strong performance for heavy projects. Building a PC gives you control over price, performance, and upgrades in a way prebuilt machines can’t. Let’s break it down step by step so you know exactly what to do.
Disclaimer: We are not professional PC technicians. The information in this article is based on research and personal experience. Always double-check compatibility and safety instructions from manufacturers before handling computer parts. If you are unsure or uncomfortable with the process, consider seeking help from a certified technician.
Key Takeaways
- Building a PC means control: You choose the parts, performance level, and look.
- Cost depends on use: $400–$600 for entry-level, $800–$1,200 for mid-range, and $1,500+ for high-end systems.
- Main components matter most: CPU, motherboard, GPU, RAM, storage, PSU, and cooling.
- Assembly is step by step: Prepare case, install CPU and cooler, add RAM, storage, GPU, connect cables, then close it up.
- First boot is simple: Enter BIOS, check hardware, and install your operating system.
- Ongoing care keeps it running: Clean dust, update drivers, and plan upgrades as tech improves.
Why Build Your Own PC?
Building your own PC lets you choose the exact parts you want, save money compared to many prebuilt systems, and upgrade later when you need more power. It’s a smarter option for gamers, who build sites or write blogs, and everyday users who want a computer that actually fits their needs.
Here’s why people often go the DIY route:
- Customization: Pick parts that match your exact use, from gaming to office work.
- Better Value: Spend your money on quality components instead of brand markups.
- Learning and Confidence: Understand how your computer works and fix problems yourself.
- Upgradability: Swap in a faster GPU, add more RAM, or increase storage when you’re ready.
- Satisfaction: There’s a sense of pride in powering on a system you built with your own hands.
How Much Does It Cost to Build a PC?
The cost to build a PC depends on what you plan to do with it. A simple office or school computer can cost a few hundred dollars, while a gaming or content creator-focused build can run into the thousands. The good news is you can choose where to spend more and where to save, and you can always upgrade over time.
Here’s a clear breakdown of typical PC build costs:
| Build Type | Price Range | Best For | Example Specs |
| Entry-Level | $400–$600 | Browsing, school, light office work, casual games | CPU with integrated graphics, 8GB RAM, 256GB SSD |
| Mid-Range | $800–$1,200 | Gaming at 1080p/1440p, streaming, photo editing | Ryzen 5/i5, 16GB RAM, 512GB SSD, RTX 3060 |
| High-End | $1,500–$3,000+ | 4K gaming, video editing, 3D design, VR | Ryzen 9/i9, 32GB+ RAM, 1TB NVMe SSD, RTX 4080 |
A good rule of thumb: invest most in the CPU, GPU, and power supply, since these impact performance and stability the most. Cases, fans, and even storage can be upgraded later if you’re trying to save money.
Essential PC Components You’ll Need
Before you can build a PC, you need to understand what each part does and how it fits into the bigger picture. Every component has a role, and picking the right mix is what makes your computer run smoothly.
PC Case
The case is the shell that holds everything together. It comes in different sizes like Mini-ITX, Micro-ATX, Mid-Tower, and Full Tower. A smaller case saves space, but a larger one gives better airflow and more room for upgrades. If you plan on using a big graphics card or want extra fans for cooling, a mid or full tower is usually the safer choice. Many cases also feature side windows or RGB lighting, but looks should come second to function and space.
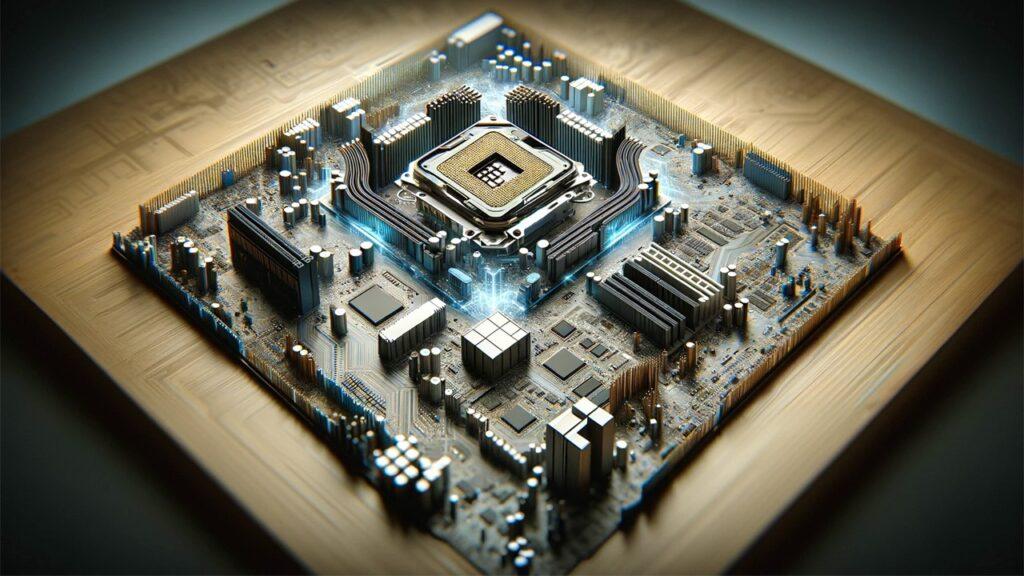
Motherboard
Think of the motherboard as the backbone. It connects the CPU, memory, storage, and other parts so they can work together. Your choice of motherboard decides what CPU you can use, how much RAM you can install, and how many storage drives you can add. They come in sizes that match your case, such as ATX or Micro-ATX, and chipsets that offer different features. A solid board also helps future-proof your system, letting you upgrade later. If you’re new to overclocking, pairing your CPU with the right motherboard can help, and this guide on how to calibrate CPU for balanced performance shows why careful setup matters.
CPU (Processor)
The CPU is the brain of the computer. It handles the instructions and tasks that make your PC work. More cores and higher speeds mean faster performance, especially in gaming, editing, or multitasking. You can compare core count versus clock speed to see what matters most for your workload. Intel and AMD are the two big names here, and both offer a wide range of options. For gamers, a mid-range CPU is often enough, while creators might want the extra power of a high-end model. If you are unsure whether your processor will handle your favorite titles, see this guide on determining if a CPU can run specific games.
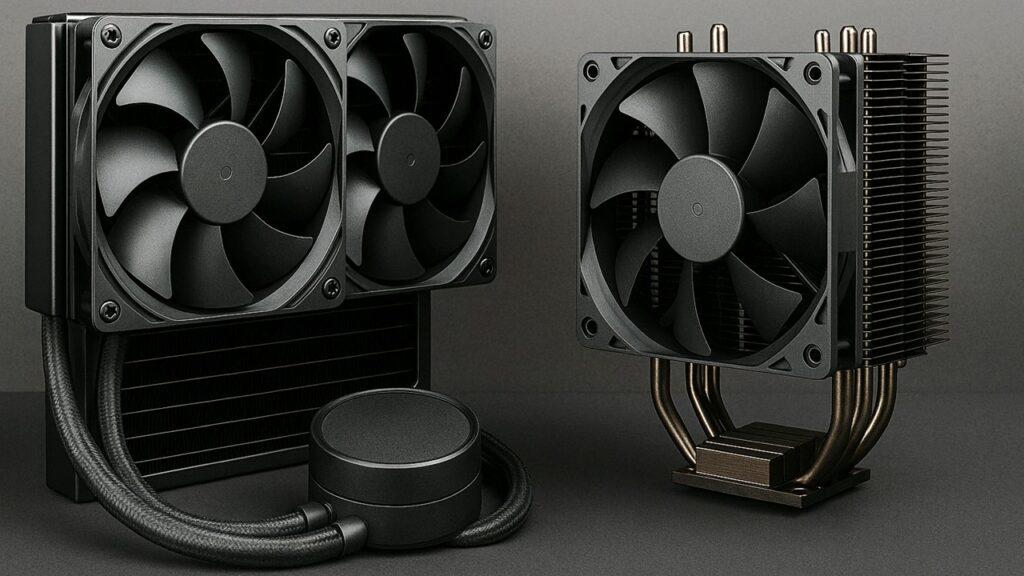
CPU Cooler
Your CPU needs to stay cool or it will slow down and even damage itself. Many CPUs come with a stock cooler, but if you’re gaming or running heavy tasks, you might want a stronger one. Air coolers are reliable and easier to install, while liquid coolers are quieter and handle heat better but cost more. To learn what works better for your build, this comparison on liquid vs air cooling explains the differences. You can also find options made for smaller builds in this guide on choosing CPU coolers for compact cases.
RAM (Memory)
RAM is your computer’s short-term memory. It stores information your PC needs right away, like running apps and files you’re working on. More RAM means smoother multitasking. For everyday use, 8GB might work, but 16GB is better for gaming and most users. Heavy editing or 3D work can benefit from 32GB or more. Also, check whether your motherboard supports DDR4 or DDR5, as they aren’t interchangeable. If you’re running demanding apps, preventing lag often means avoiding CPU bottlenecks, which shows why memory speed and capacity both matter.
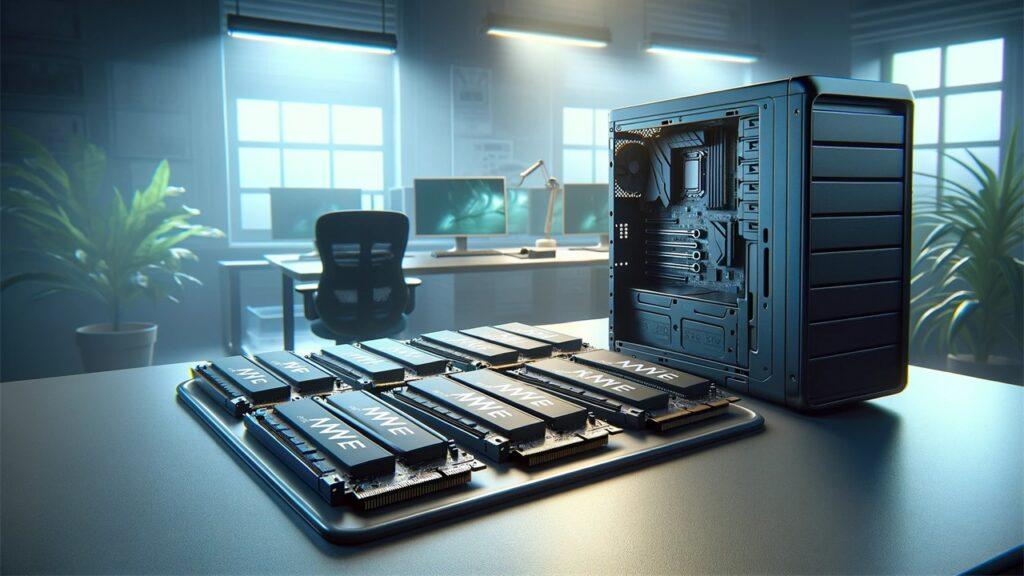
Storage (SSD and HDD)
Storage is where your files, programs, and games live. An SSD (Solid-State Drive) is much faster than an older hard drive, making your PC boot up quickly and load apps in seconds. NVMe SSDs are even faster, connecting directly to the motherboard. Many people use a smaller SSD for their system and favorite programs, along with a larger HDD for bulk storage like movies, photos, or backups. If you want even more speed, Gen4 NVMe drives can cut load times drastically compared to standard SSDs.
GPU (Graphics Card)
If the CPU is the brain, the GPU is the artist. It handles visuals, gaming graphics, and video work. Some CPUs have built-in graphics, which are fine for everyday tasks and light games. But if you plan to play modern games, edit video, or do design work, a dedicated GPU is a must. NVIDIA and AMD lead the market, offering cards from budget-friendly options to high-end models capable of 4K gaming. Not sure if you should upgrade your graphics card or CPU first? This article on CPU vs GPU upgrades for gaming can help you decide.
Power Supply Unit (PSU)
The PSU powers every part of your PC. Picking the right wattage is key. Too weak and your system won’t run, too strong and you’ve wasted money. A good PSU has an 80 Plus certification, which means it uses electricity efficiently. Modular PSUs let you plug in only the cables you need, which keeps your case tidy and improves airflow. Never cut corners on the power supply, since a poor one can damage your expensive parts.
Operating System (OS)
The OS is the software that makes your hardware usable. Without it, your PC is just parts in a box. Windows is the most common choice for gaming and everyday use. Linux is popular with developers and hobbyists. Some advanced users even install macOS on custom builds, though that comes with challenges. You’ll need to download your chosen OS onto a USB drive so you can install it once your build is complete. If your CPU seems slow during installation, it may be due to throttling issues, which are worth checking early.
Peripherals
Peripherals are the extras that make your PC usable: monitor, keyboard, mouse, and speakers or headphones. The right monitor depends on what you’re doing. Gamers might want high refresh rates for smooth play, while editors might prefer 4K screens for detail. Keyboards and mice come in wired or wireless models, with mechanical options for those who type or game a lot. While these don’t go inside the case, they’re just as important for your experience. If you run into screen or performance issues later, monitoring CPU temperatures alongside GPU settings can help spot problems early.
Tools & Safety Before You Begin
Building a PC is mostly about patience and care. You don’t need a workshop or fancy tools, but being prepared makes everything smoother. A clean space with good light is just as important as the parts themselves. Static electricity is your biggest enemy, since it can damage sensitive components, so working safely matters just as much as working neatly.
Here are a few simple things you should have before you start:
- A Phillips-head screwdriver for most parts.
- An anti-static wrist strap or regular grounding touch on metal to avoid shocks.
- Cable ties or Velcro straps to keep wiring tidy.
- A flat, uncluttered surface with good lighting.
- Small containers or trays to keep screws organized.
Step-By-Step PC Building Process
Here is the step by step process to build a PC:
- Prepare your case and workspace.
- Install the CPU, cooler, and RAM on the motherboard.
- Mount the motherboard inside the case.
- Add storage drives, GPU, and the power supply.
- Connect all cables neatly.
- Close the case, plug in peripherals, and power it on.
Each step has its own details that can make or break your first build. Let’s walk through them one by one.
Prepare The Case
Remove the side panels, set the screws aside, and place the case flat. Mid or full towers give you more airflow and upgrade space, while small cases may require compact boards such as Mini ITX motherboards. Check that your standoffs are ready to support the motherboard before you move on.
Install The CPU
Lift the socket arm on the motherboard, align the small triangle on the CPU with the one on the socket, and lower it gently into place. If you are not sure about part pairing, this guide on CPU and motherboard compatibility is worth reading before purchase. For users who want more performance, there are excellent options like Ryzen CPUs built for overclocking or Intel desktop processors.
Apply Thermal Paste And Install The Cooler
A cooler keeps your processor running smoothly. Apply a pea-sized dot of paste and mount your cooler. Air coolers are reliable, and you can find budget options for quiet builds. If you want stronger performance, AIO liquid coolers offer better heat control. Picking the right radiator size is important too, and this guide on choosing radiator sizes will help.
Install RAM
Insert the sticks into the correct slots until they click into place. If you plan on gaming or content creation, consider DDR5 RAM kits or even high-speed memory for 4K editing. Faster RAM helps both gaming and editing tasks feel smoother.
Install M.2 SSD
Slide the drive into its slot, press it down, and secure it with the screw. For fast boot times, NVMe drives are your best choice. If you want higher bandwidth, Gen4 NVMe M.2 SSDs are the new standard.
Mount The Motherboard In The Case
Line it up with the I/O shield and screw it down gently. If you are budget-conscious, you can still find affordable Intel motherboards that perform well without breaking the bank.
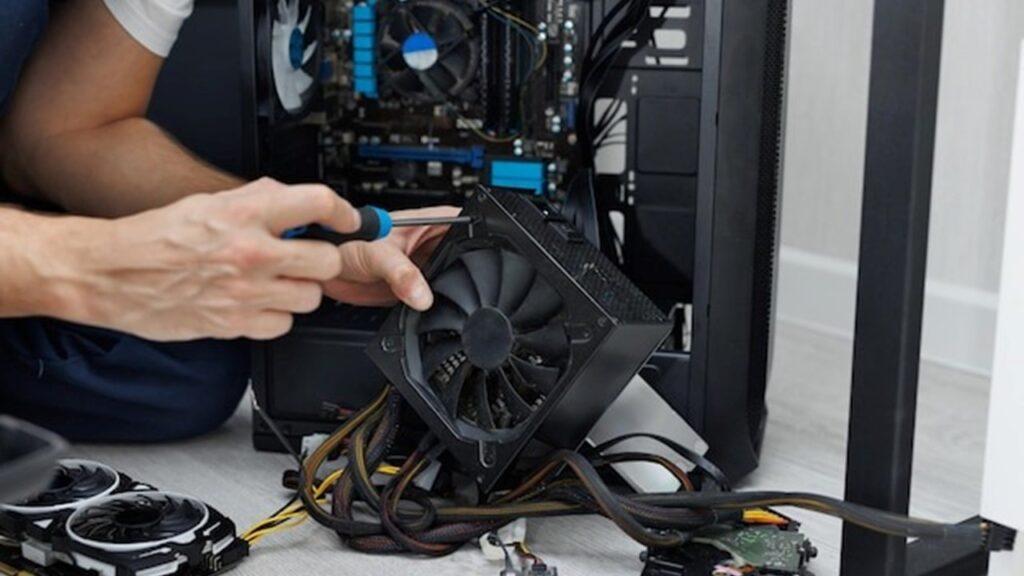
Install The Power Supply
Secure the PSU into the case, orienting the fan toward ventilation. A reliable PSU helps protect expensive components, so never skimp here.
Install The GPU
Insert the graphics card into the PCIe x16 slot until it clicks, then secure it with screws. If you are gaming, budget graphics cards can handle 1080p smoothly, while video editors may look at cards for 4K editing. For sim racers, GPUs tuned for 4K racing setups are also available.
Install Additional Storage Drives
Add 2.5-inch SSDs or 3.5-inch HDDs into the bays and connect power and data cables. If you want flexibility, portable SSDs are great for external backup.
Connect All Cables
Attach the main 24-pin connector, the 8-pin CPU cable, GPU connectors, and all SATA cables. Double-check front panel connections for the power button and USB ports.
Close The Case And Connect Peripherals
Once tidy, reattach the side panels, connect your monitor, keyboard, and mouse. If video calls are part of your work, you can even fine-tune visuals later by adjusting GPU settings for video conferencing.
First Boot & Installing The OS
The first boot is where your effort pays off. When you power on the system, the fans should spin, and your screen should display the BIOS menu. This is where you confirm that the CPU, memory, and storage are recognized. If the system does not detect something, recheck the seating of your RAM or GPU.
Next, insert the USB drive with your operating system. Most choose Windows, but Linux is also a strong alternative for coding and lightweight tasks. Set the USB as the first boot device in BIOS, then restart. The installer will walk you through setup. Once the OS is installed, add the drivers for your GPU, motherboard, and network card. To get the most out of your new build, you can also tune your system using BIOS settings that maximize CPU performance.
Troubleshooting Common Problems
When you build a PC, sometimes it will not work perfectly on the first try. Common issues include the computer not powering on, no display showing, overheating, or random restarts. Most of these problems come down to loose cables, bad seating of parts, or settings in BIOS that need adjusting.
Here’s a table that outlines common build issues and how to fix them:
| Problem | Likely Cause | Fix |
| PC won’t power on | Loose PSU cables or faulty PSU | Recheck 24-pin and 8-pin connectors. If issue continues, review budget CPU installation mistakes to rule out setup errors. |
| No display | RAM or GPU not seated correctly | Reseat RAM and GPU. If persistent, confirm you are not hitting CPU usage spikes. |
| Overheating | Cooler not installed correctly | Reapply thermal paste or reposition cooler. A quick fix is following CPU overheating solutions. |
| Random restarts | PSU wattage too low or high ambient heat | Upgrade PSU or check cooling. Heat is a common issue; see how ambient temperature impacts CPU efficiency. |
| Error beeps at startup | Hardware issue with CPU, RAM, or cables | Cross-check manual or read about fixing CPU error beeps. |
Maintaining Your PC
Keeping your PC in good shape is just as important as building it right. Dust, outdated drivers, and poor cooling can slowly reduce performance. A little upkeep every few months keeps your system running smoothly and avoids problems later.
Think of it like cleaning a kitchen appliance: the more you take care of it, the longer it lasts. Here are some simple habits you can follow:
- Clean dust filters and fans every few months.
- Keep drivers and BIOS updated for better performance.
- Watch your CPU temperatures; if they rise, check your cooler or apply the right fix using a guide on ambient temperature impact.
- Replace thermal paste every couple of years for stable cooling.
- Back up your important files to avoid data loss.
Future Upgrade Paths
A custom-built PC is never really finished. As games and programs get heavier, you can always improve parts instead of buying a whole new system. That’s one of the biggest perks of building your own.
You don’t have to upgrade everything at once. Swapping in a single part can extend your PC’s life for years. Some smart upgrade ideas include:
- Adding faster RAM, such as DDR5 kits tuned for overclocking.
- Replacing your CPU with a stronger option like AMD Ryzen chips for gaming or budget-friendly CPUs for 4K editing.
- Upgrading to a new NVMe drive such as Gen4 SSDs for faster load times.
- Switching to a more powerful GPU if you’re into 4K gaming or design.
- Moving from an air cooler to an RGB cooler if you want style and stronger cooling combined.
Final Words
Building your own PC is not as difficult as it first looks. The process comes down to choosing the right parts, putting them together carefully, and installing the software that makes everything work. By doing it yourself, you get a system that matches your needs, saves you money compared to many prebuilt models, and can be upgraded later instead of replaced.
Here’s the big picture to keep in mind:
- Start with a budget and plan what kind of PC you need.
- Pick parts that work well together, especially the CPU, motherboard, and power supply.
- Follow a step-by-step process for assembly to avoid mistakes.
- On first boot, confirm parts are recognized in BIOS and install your operating system.
- Keep your PC clean, updated, and ready for upgrades in the future.
If you follow these steps, you will not just own a computer, you will understand it. That knowledge gives you freedom to troubleshoot, upgrade, and enjoy the satisfaction of running something you built yourself.
Related FAQs
Is it cheaper to build or buy a PC?
Building a PC is usually cheaper because you avoid brand markups and can pick only the parts you need.
How long does it take to build a PC?
For a first-timer, about 3 to 4 hours. Experienced builders often finish in 1 to 2 hours.
What tools do I need to build a PC?
You mainly need a Phillips-head screwdriver, good lighting, and an anti-static strap for safety.
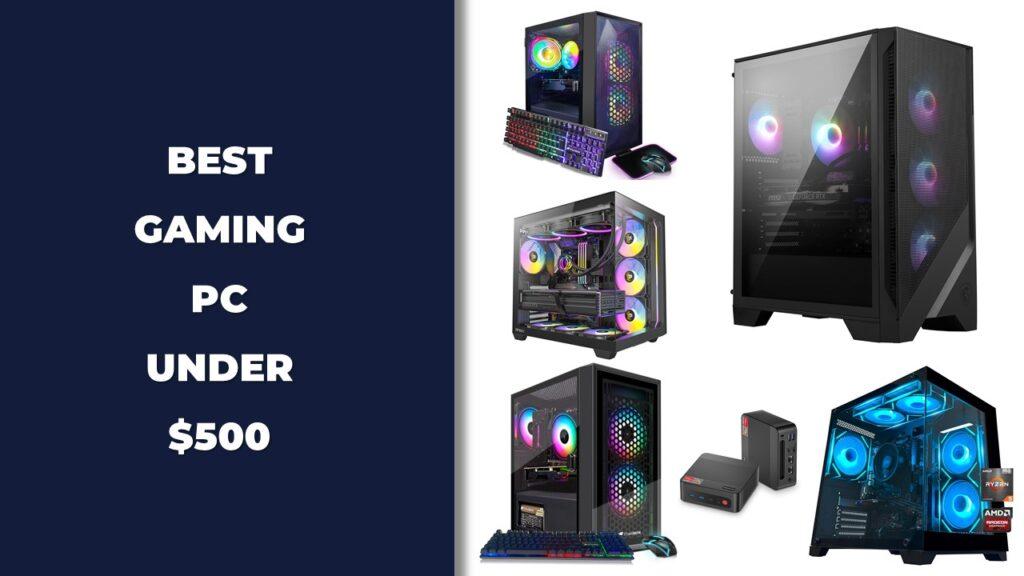
Can I build a gaming PC under $500?
Yes, but expect to play games at lower settings. Entry-level builds with integrated graphics can handle light gaming.
What if my new PC won’t turn on?
Check power cables first. Make sure the 24-pin and 8-pin CPU connectors are fully seated.
Do I need to install Windows before using my PC?
Yes, you need an operating system like Windows or Linux. Without it, the hardware cannot run programs or games.

Josh is a lifelong tech enthusiast with a passion for building powerful, reliable PCs. With years of hands-on experience, he shares practical advice to help readers make smarter choices, whether it’s picking the right components or solving build issues at home. Josh focuses on what really matters in real-world use, offering honest insights that come from testing, tinkering, and learning along the way. He’s here to make tech feel a little less overwhelming and a lot more useful.